Heat a heavy-bottomed skillet, Dutch oven, or tawa (flat griddle) over medium-low heat. If using a skillet or Dutch oven, cover it with a lid to trap steam and help the bread bake evenly.
Step 6: Cook the Bread
Carefully place the shaped dough into the preheated pan. Cover with a lid and cook for 15–20 minutes, checking occasionally to ensure the bottom isn’t burning. Rotate the bread halfway through for even cooking.
Flip the bread over and cook the other side, covered, for another 15–20 minutes. The bread is done when it sounds hollow when tapped on the bottom and is golden brown on both sides.
Step 7: Cool and Serve
Remove the bread from the pan and let it cool on a wire rack for at least 10–15 minutes before slicing.
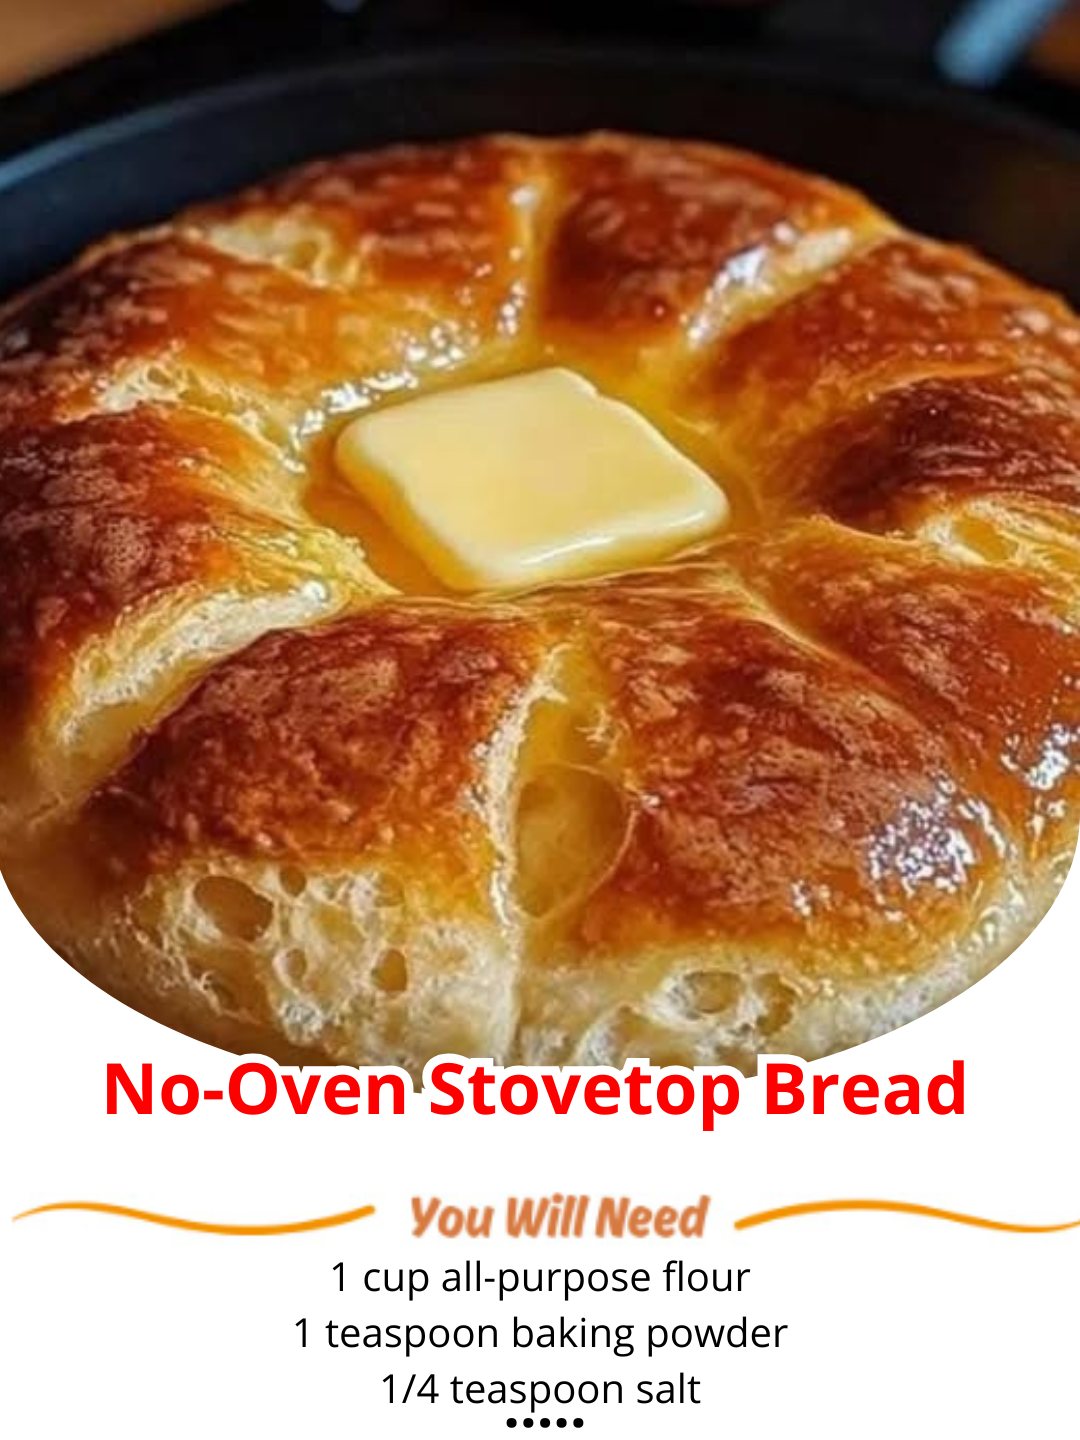
Slice and serve warm with butter, jam, or your favorite toppings.
Tips for Success
Consistent Heat: Use a heavy-bottomed pan or cast iron skillet to distribute heat evenly and prevent burning.
Test for Doneness: If you’re unsure whether the bread is fully cooked, insert a thermometer into the center—it should read around 190–200°F (88–93°C).
Add Flavor Variations: Mix in herbs like rosemary or thyme, grated cheese, or seeds like sesame or poppy for extra flavor.
Storage: Store leftover bread in an airtight container or zip-top bag at room temperature for up to 2 days. Reheat slices on the stovetop or in a toaster for best results.
Why You’ll Love This Recipe
This No-Oven Stovetop Bread proves that you don’t need an oven to make fresh, homemade bread. It’s incredibly versatile, easy to customize, and perfect for situations where traditional baking isn’t an option. The result is a warm, comforting loaf with a satisfying texture and aroma that will fill your home—or campsite—with happiness. Whether you’re a beginner baker or a seasoned pro, this recipe is a must-try. Dive into the joy of homemade bread without the need for an oven!
