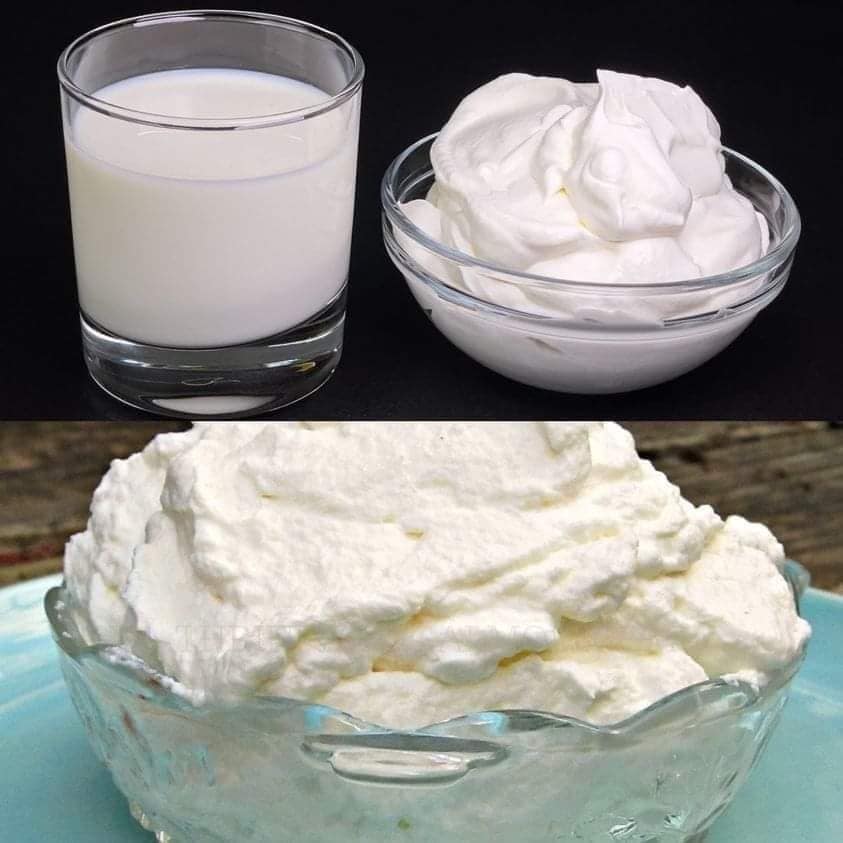
Once the mixture is chilled, beat it at high speed using an electric mixer. Whisk for five to seven minutes until soft peaks form, and the mixture resembles whipped cream.
Add Flavor (Optional):
If desired, add one teaspoon of vanilla extract during the whipping process to enhance the flavor.
Tips for Best Results:
Chill Your Equipment: For optimal results, place your mixing bowl and beaters in the freezer for a few minutes before whipping the cream. This helps the mixture whip more efficiently.
Monitor Consistency: Pay close attention to the mixture as you whip it. Stop whipping as soon as you achieve the desired consistency to avoid over-whipping, which can result in overly stiff cream.
Storage: Store any leftover whipped cream in an airtight container in the refrigerator. For the best texture and taste, use within two to three days.
Uses for Homemade Whipped Cream:
Dessert Topping: Perfect for topping pies, cakes, and puddings.
Fruit Companion: Serve with fresh berries, peaches, or your favorite fruits for a delightful treat.
Beverage Enhancer: Add a dollop to hot cocoa, coffee, or smoothies for a creamy finish.
Conclusion
Creating whipped cream from a glass of milk is a quick, easy, and sugar-free alternative to store-bought varieties. With just a few ingredients and a little time, you can enjoy a creamy, homemade topping that enhances any dessert or treat. Try this simple recipe and savor the fresh, handcrafted excellence of homemade whipped cream in just ten minutes!
