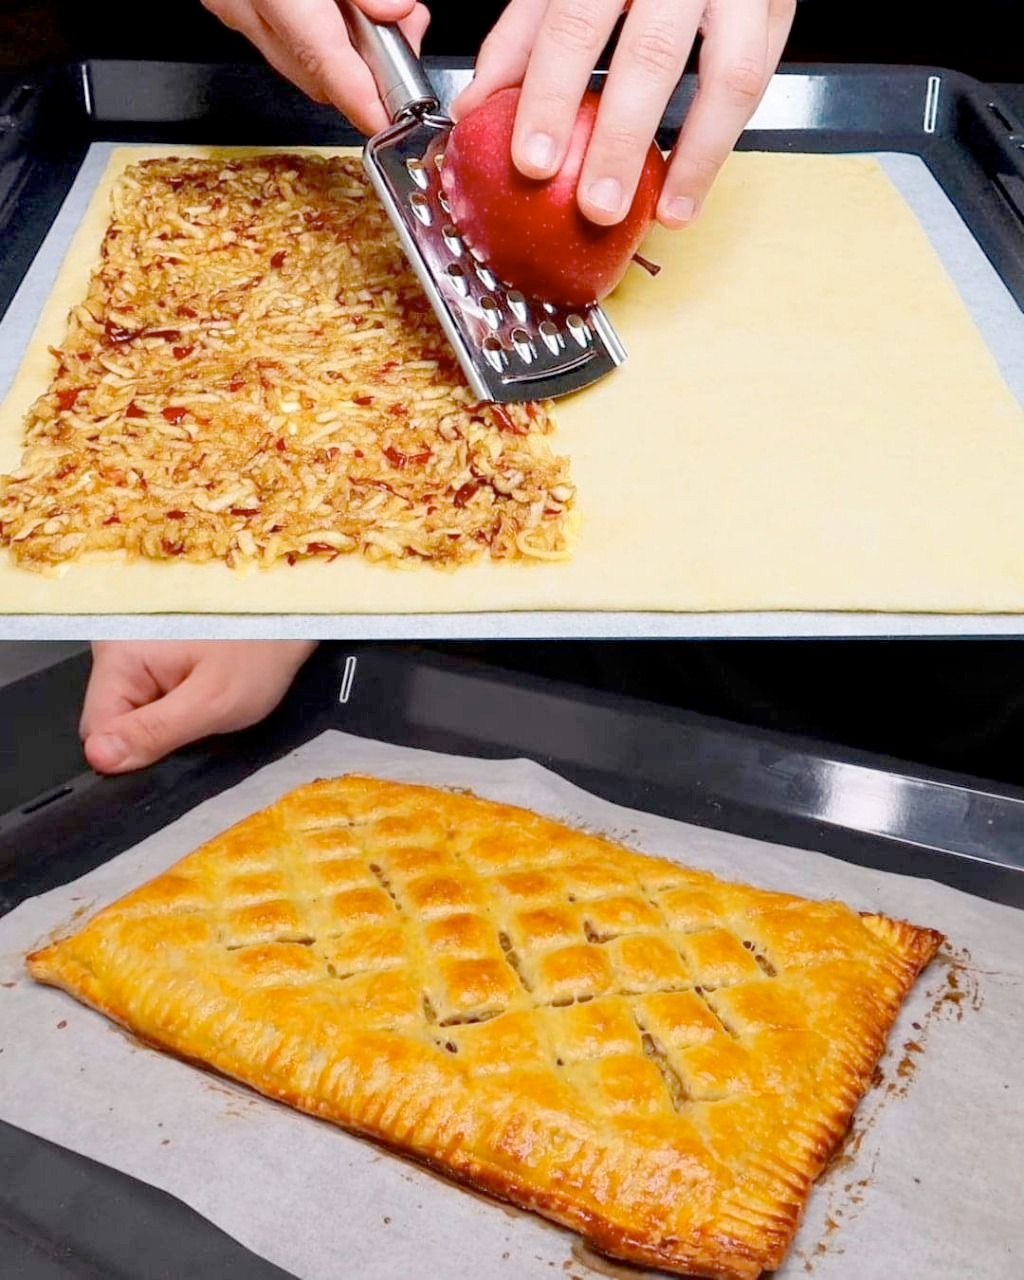
Apple Cinnamon Puff Pastry Twists are a delightful dessert that combines the warmth of cinnamon and the natural sweetness of apples, all encased in flaky, buttery puff pastry. These delicious twists are perfect for any occasion—whether you’re hosting a party, enjoying a family dinner, or simply craving a comforting homemade treat. With just a few simple ingredients and minimal effort, you can create a dessert that looks elegant and tastes irresistible.
Puff pastry is one of the most versatile ingredients in the kitchen. Its light, crispy texture complements both sweet and savory fillings, making it a favorite for all kinds of baked goods. In this recipe, we will use store-bought puff pastry to keep things quick and easy, but feel free to make your own if you’re up for a challenge.
Ingredients
500 g (17 oz) puff pastry
2 apples (any variety you prefer, such as Granny Smith or Honeycrisp)
Sugar (2-3 tablespoons, or to taste)
Cinnamon (1 teaspoon, or to taste)
Powdered sugar (for dusting)
1 egg (for egg wash)
Steps to Make Apple Cinnamon Puff Pastry Twists
Step 1: Prepare the Apples
Peel and Slice: Begin by peeling the apples and cutting them into thin slices. Try to keep the slices as uniform as possible to ensure even baking. Thin slices will also help them cook through properly inside the puff pastry.
Toss with Sugar and Cinnamon: In a mixing bowl, combine the apple slices with sugar and cinnamon. Adjust the amount of sugar and cinnamon to your taste. If you prefer a sweeter dessert, you can add a little more sugar.
Step 2: Prepare the Puff Pastry
Roll Out the Puff Pastry: If using frozen puff pastry, make sure to thaw it according to the package instructions. Roll out the puff pastry on a lightly floured surface into a thin rectangular sheet. Aim for about ¼-inch thickness, making sure it’s even all around.
Cut into Strips: Using a sharp knife or a pizza cutter, cut the puff pastry into long strips, about 2-3 inches wide. These strips will be twisted around the apple slices, creating the delicious twists.
Step 3: Assemble the Twists
Continued on next page 👇(page 2)👇
