Step 2: Prepare the Caramel
In a microwave-safe bowl, combine the soft caramels and heavy cream. Microwave in 30-second intervals, stirring between each, until the caramels are melted and smooth.
Step 3: Assemble the Turtles
Arrange the toasted pecan halves in clusters of three on a parchment-lined baking sheet. Spoon a small amount of melted caramel over each pecan cluster, allowing it to drip down the sides slightly.
Step 4: Melt the Chocolate
In another microwave-safe bowl, combine the chocolate chips and coconut oil (if using). Microwave in 30-second intervals, stirring between each, until the chocolate is melted and smooth.
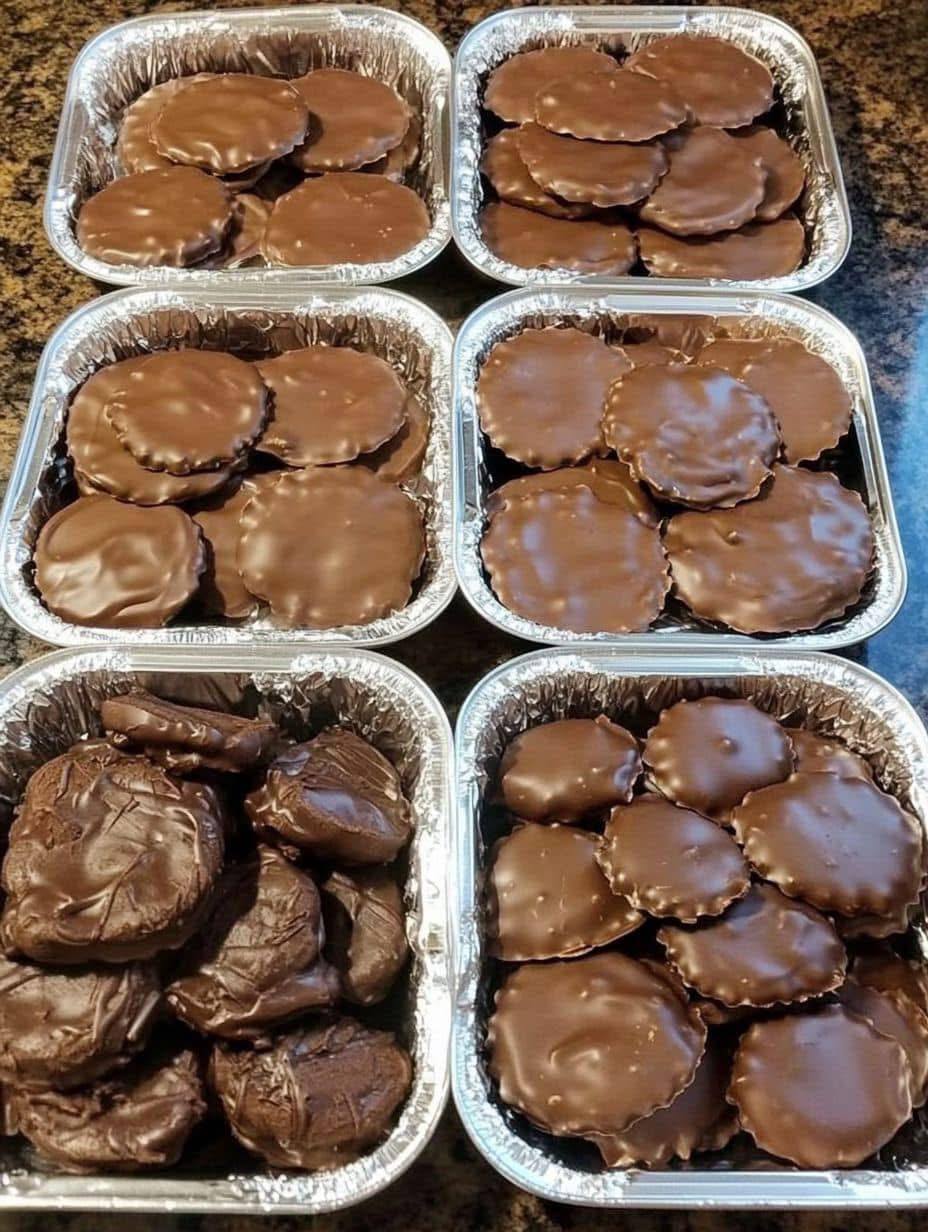
Step 5: Coat with Chocolate
Spoon the melted chocolate over each caramel-coated pecan cluster, covering the caramel completely. Use a spoon or spatula to smooth the chocolate.
Step 6: Chill and Set
Place the baking sheet in the refrigerator for 15-20 minutes, or until the chocolate is set.
Step 7: Serve and Enjoy
Once set, transfer the candies to an airtight container. Serve at room temperature and enjoy!
Tips for the Perfect Turtle Candies
Toast the Pecans: Toasting enhances their flavor and adds extra crunch.
Use Quality Chocolate: High-quality chocolate makes a big difference in taste and texture.
Work Quickly: Caramel and chocolate can harden as they cool, so assemble the candies promptly.
Store Properly: Keep the candies in an airtight container at room temperature for up to a week.
Serving Suggestions
Holiday Treats: Package in festive boxes or bags for holiday gifts.
Party Favors: Serve at parties or include in dessert platters.
Sweet Indulgence: Enjoy with a cup of coffee or tea for a cozy treat.
Gift Idea: Pair with other homemade candies for a personalized gift basket.
Frequently Asked Questions (FAQs)
1. Can I use store-bought caramel sauce?
Yes, but it may be thinner than melted caramels. Let it cool slightly before using.
2. Can I make these candies vegan?
Yes, use dairy-free caramels and chocolate to make this recipe vegan-friendly.
Continued on next page 👇(page 3)👇
