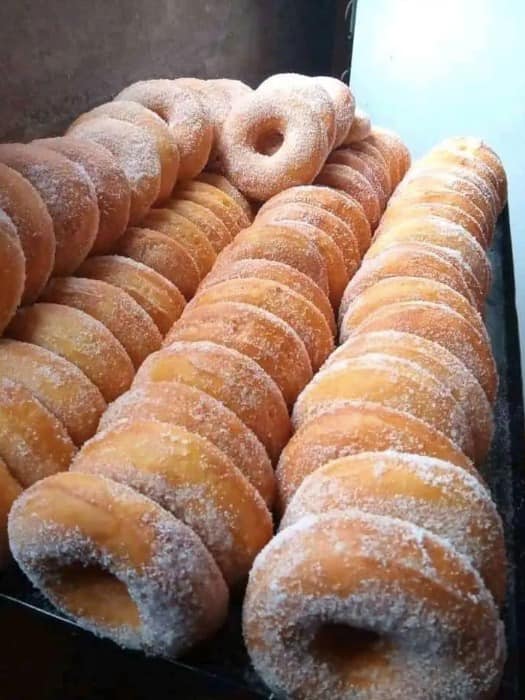
These homemade doughnuts are soft, fluffy, and incredibly delicious. With a perfect balance of sweetness and a light texture, they are perfect for breakfast, dessert, or any time you’re craving a treat. Let’s dive into the recipe and make some mouthwatering doughnuts at home!
Ingredients
3 cups all-purpose flour
2 tablespoons butter, softened
7 grams baker’s yeast (or 2 ¼ teaspoons active dry yeast)
5 tablespoons sugar
1 cup milk
1 egg
½ teaspoon salt
Oil for frying (vegetable or canola oil works well)
Instructions
1. Prepare the Yeast Mixture
In a small bowl, warm the milk (around 110°F or 45°C). It should be warm to the touch, not hot.
Add the yeast and 1 tablespoon of sugar to the warm milk and stir. Let it sit for 5-10 minutes until the mixture becomes frothy. If the yeast doesn’t bubble, it may be expired—try with fresh yeast.
2. Mix the Dough
In a large mixing bowl, combine the flour, remaining sugar, and salt.
Create a well in the center of the dry ingredients and add the egg, softened butter, and the yeast mixture.
Stir everything together until the dough begins to come together. You may need to use your hands to knead the dough, or you can use a stand mixer with a dough hook attachment.
3. Knead the Dough
Once the dough is formed, knead it on a lightly floured surface for about 5-7 minutes, or until it becomes smooth and elastic.
If the dough is too sticky, add a small amount of flour at a time, but be careful not to add too much—this will make the doughnuts dense.
4. Let the Dough Rise
Place the dough in a greased bowl, cover it with a clean kitchen towel, and let it rise in a warm area for about 1 hour, or until it doubles in size.
5. Shape the Doughnuts
Once the dough has risen, punch it down to release the air.
On a floured surface, roll out the dough to about 1/2 inch thickness.
Use a round cutter to cut out doughnut shapes. For the hole in the center, use a smaller cutter or the lid of a bottle. You can also make doughnut holes by cutting small pieces from the center.
6. Heat the Oil
Continued on next page 👇(page 2)👇
